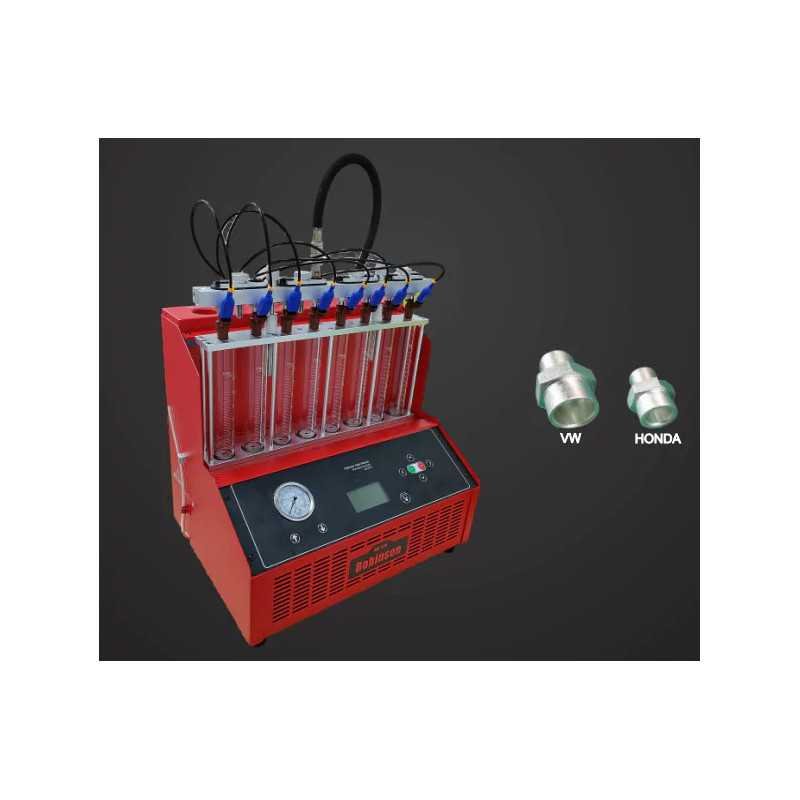
- New


Preparation before testing or cleaning injectors Robinson GDI-330
1)Remove the injectors from the vehicle, check if the O-rings are in good conditions o no. Any O-
ring damage may cause leakage during test or cleaning.
2) Check and fill test liquid. Fill test liquid through “Return/fill” port on top of the equipment. It is
recommended that fill the tank up to 2/3 level.
3) Fill the ultrasonic cleaner with recommended detergent. It is recommended that the detergent
immerse the needle valve of the injectors.
4) Select the appropriate injector connection parts.
5) Figure out the injector type, “standard manifold” type or “GDI/FSI” type, and make right selection in
the main menu.
 Security policy(edit with the Customer Reassurance module)
 Delivery policy(edit with the Customer Reassurance module)
 Fast Delivery(edit with the Customer Reassurance module)
Preparation before testing or cleaning injectors with GDI-330
1)Remove the injectors from the vehicle, check if the O-rings are in good conditions o no. Any O-
ring damage may cause leakage during test or cleaning.
2) Check and fill test liquid. Fill test liquid through “Return/fill” port on top of the equipment. It is
recommended that fill the tank up to 2/3 level.
3) Fill the ultrasonic cleaner with recommended detergent. It is recommended that the detergent
immerse the needle valve of the injectors.
4) Select the appropriate injector connection parts.
5) Figure out the injector type, “standard manifold” type or “GDI/FSI” type, and make right selection in
the main menu.
1)Connect the power supply with ultrasonic cleaner.
2)Put the injectors into the support in the ultrasonic cleaning tank.
3)Fill the ultrasonic cleaner tank with detergent. (Recommended detergent level till 5~10mm over
needle valve of the injectors).
4)Connect the pulse cables, switch on the power supply, and set cleaning time.
5)Select injector type in the main menu, and select “Ultrasonic Cleaning” , and set time Press “OK”
button to start.
6)Ultrasonic cleaning automatically stops while time is up, take out the injectors.
Caution:
1)Ultrasonic cleaning should never be operated without liquid in the tank. Otherwise damage may be
caused.
2) The pulse cable are prohibited to be immersed in the liquid. Otherwise damage may be caused.
Fuel supply entrance is located in two different parts in the automotive injectors: top supply and
side supply.
A. Installation and test procedure of top supply injectors
1) According the type of injectors, select appropriate straight adaptors and mount them in the
adaption assembly of the fuel distributor.
2) Mount the injectors (lubricate the O-rings in the injectors).
3) Adjust the position of screw and knurled nut according to the height of the injectors. Mount
fuel distributor and injectors in the support. Tighten the two knurled nuts. As graph 2.
4) Connect pulse cables. Press “Drainage” button to empty the glass tubes.
5) Select Uniformity/spray test. Set the work condition parameters, and press “start”.
6) The system stop working automatically when the test is completed. And the buzzle will sound.
Power supply:AC220V ±10%~ 50/60Hz or AC110V± 10%~60Hz
Input power: 200W
Pressure:0~8bar
PW range:0.1-30ms,step:0.1ms
Timing range:1~30min
UItrasonic timing range:0~15min
Simulated RPM range:0~9990rpm,step:10rpm
Dimensions:Package:670*470*600mm;Unpackage:520*360*460mm
Specific References
No customer reviews for the moment.